


Custom Made in the Tetons
We build fully custom sheds for your home
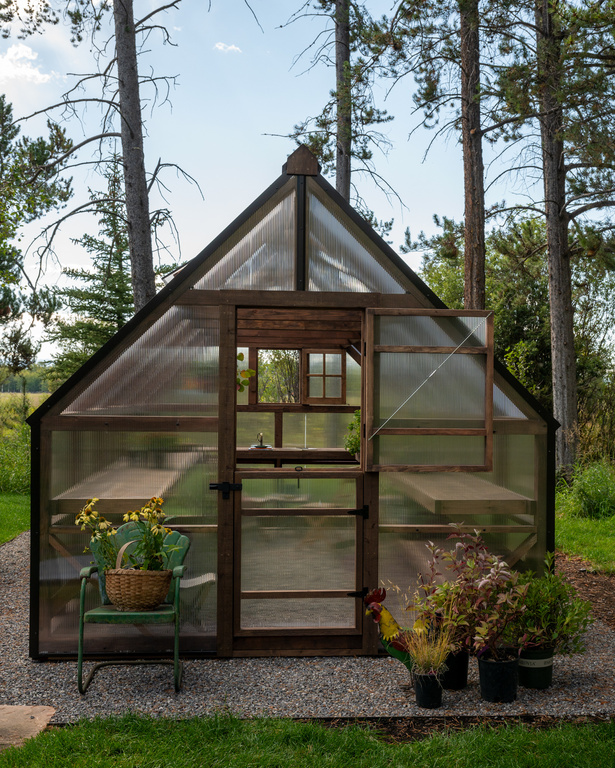
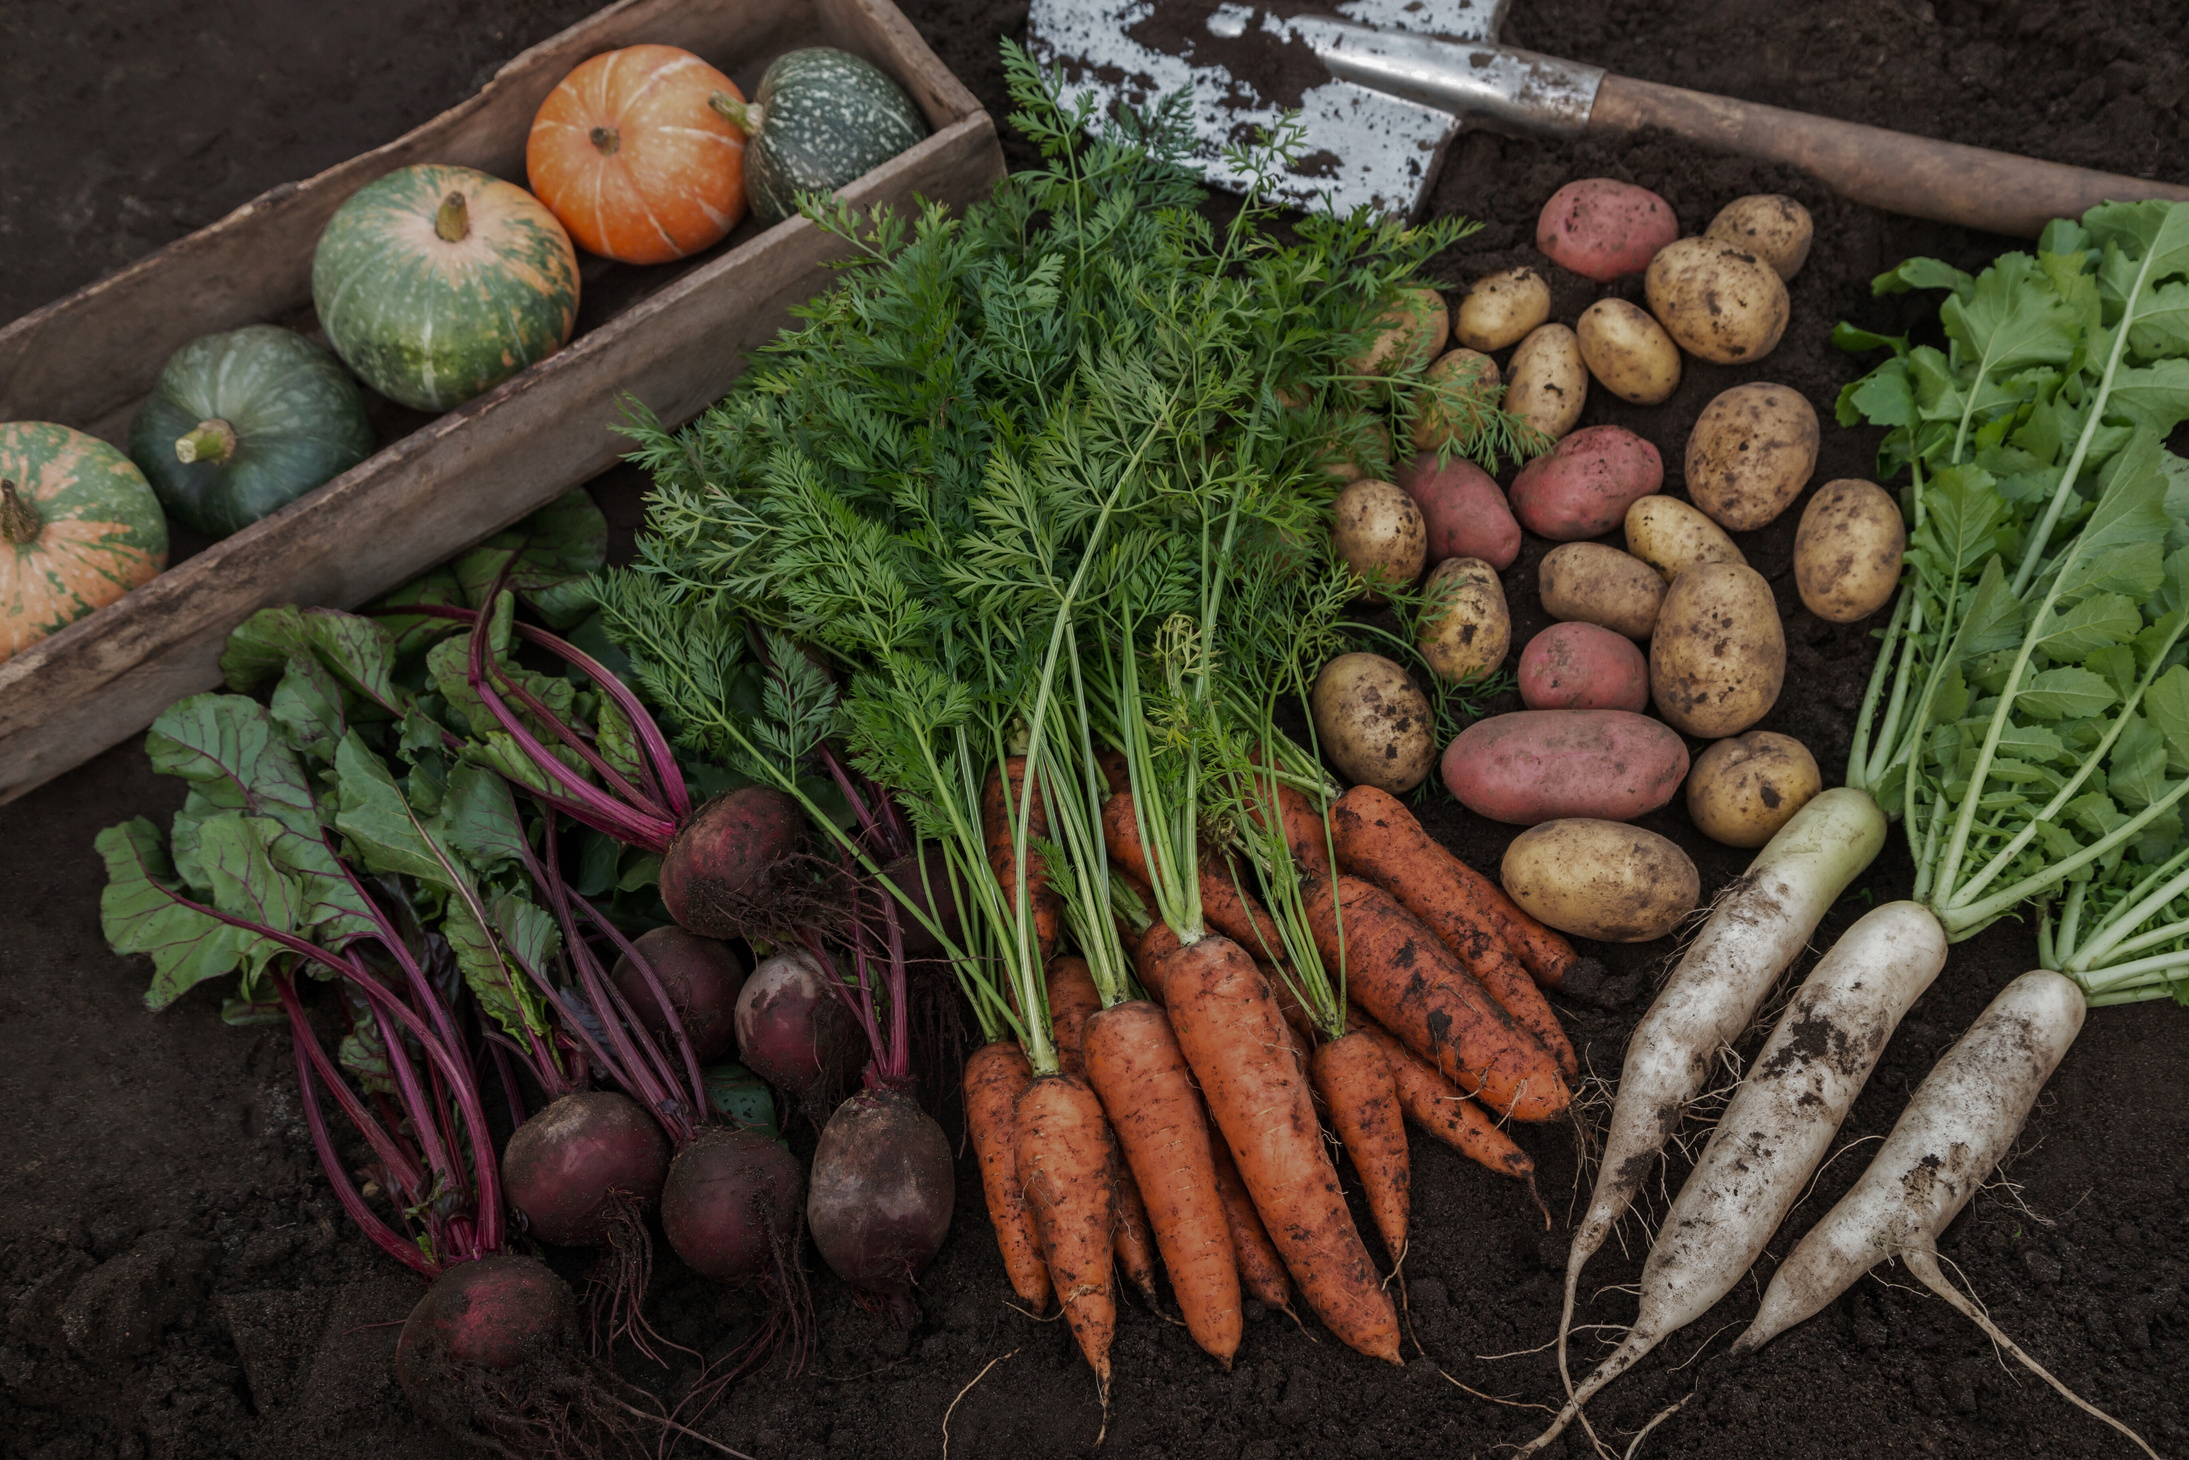
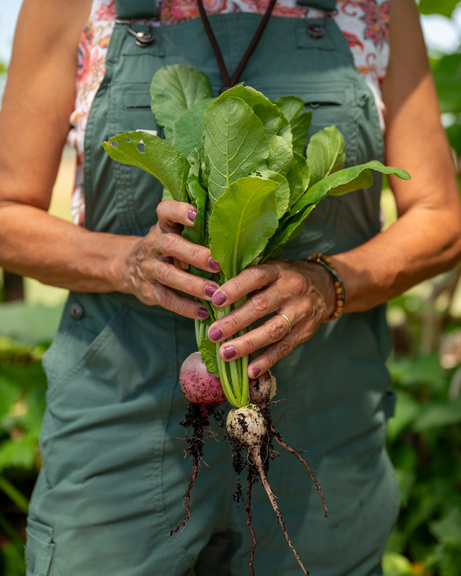
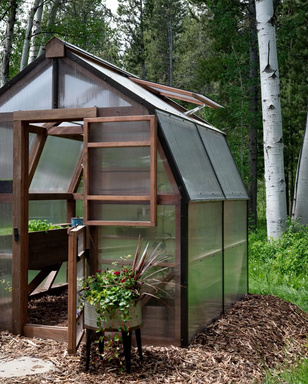
Growhuts’ crafted outbuildings enhance your outdoor lifestyle. Perfect for the backyard farmer or agrarian, our sheds are designed to increase the productivity of your land. Extend the
season with an investment that will turn your backyard into an inspired space—one that meets your family's needs and beautifies your garden experience.

OUTBUILDINGS THAT SUPPORT A MODERN LIFESTYLE
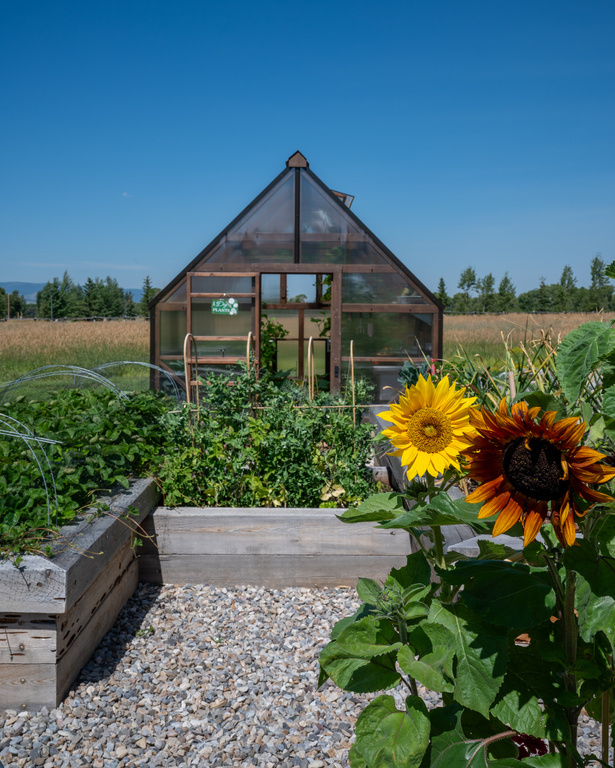

Elevate your outdoor lifestyle as a backyard farmer to increase land productivity. Turn your backyard into a practical area that meets your family's requirements and adds style while extending the season.

Amish Built
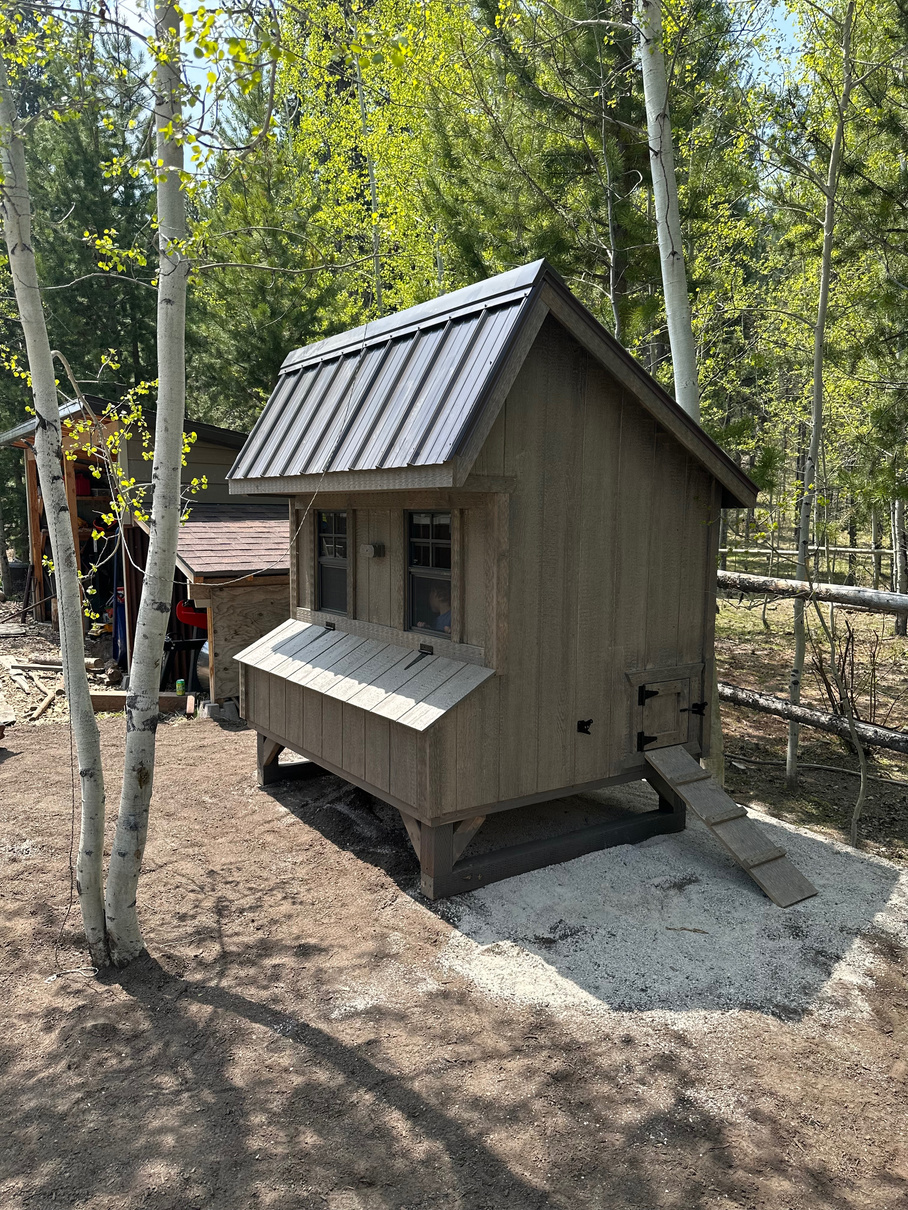
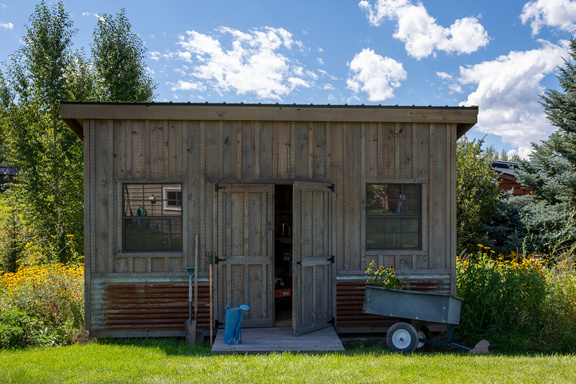
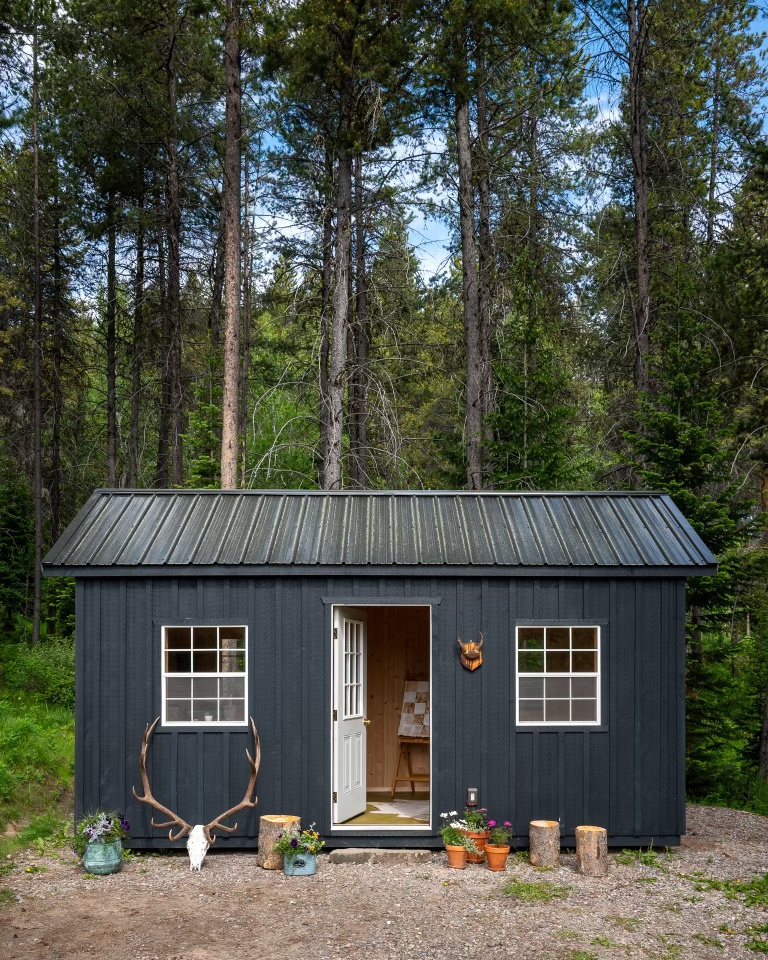
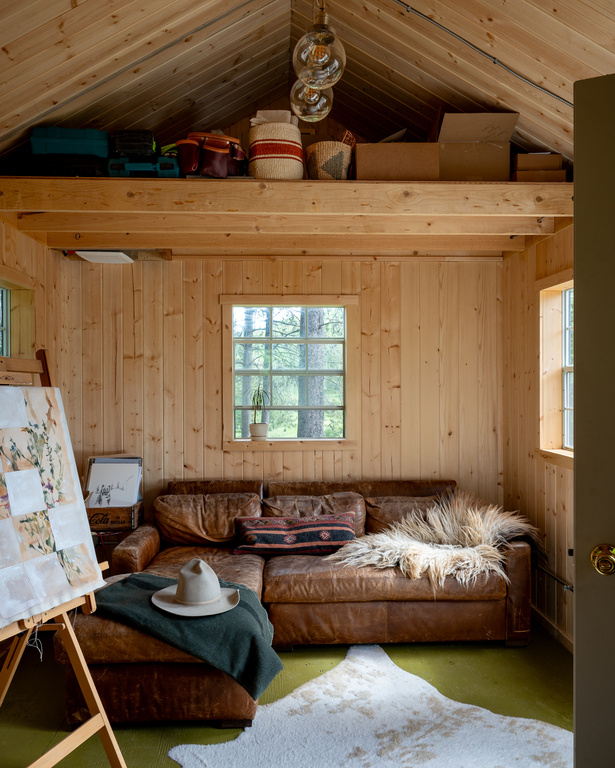
Our pre-assembled sheds are made in the Amish community of Baker, located just outside Salmon, Idaho, by the Miller family. The Millers create our sheds to withstand high-altitude snow loads and the severe mountain climate. These sheds are constructed on pressure-treated skids for easy relocation on your property, serving as an ideal garden or equipment shed, a personal retreat, an office space, or any other purpose you envision.


testimonial
Don't just take our word, check out some of the feedback from our clients.


We love our shed! Thanks Grow Huts. We have so much more room in our garage now. Having a place to put the lawnmower, weed wacker, chainsaw, shovels, etc and get them out of our garage is awesome. With the added lean to, we can store boats, kicksleds etc out of the weather. Someday we might add the "Grow"/greenhouse to the south side of our shed. High quality, delivery was amazing with the coolest trailer. They even painted the shed to match our house. Thanks again!

Give us a call or contact us via text or email. We look forward to working with you.
Blogs and more

Contact
Social
© GrowHuts LLC. All Rights Reserved 2024